Installation
Install the ADK CLI globally:Create your first agent
Initialize a new agent project:hello-world template. Next, choose your preferred package manager:
my-agent directory. See Project Structure for a full breakdown of the generated files.
Navigate into your project:
Test your agent
Now, you’re ready to test your agent.Start the development server
Start the development server with hot reloading:- Generates TypeScript types for your integrations
- Builds your agent
- Starts a local development server
- Watches for file changes and automatically rebuilds
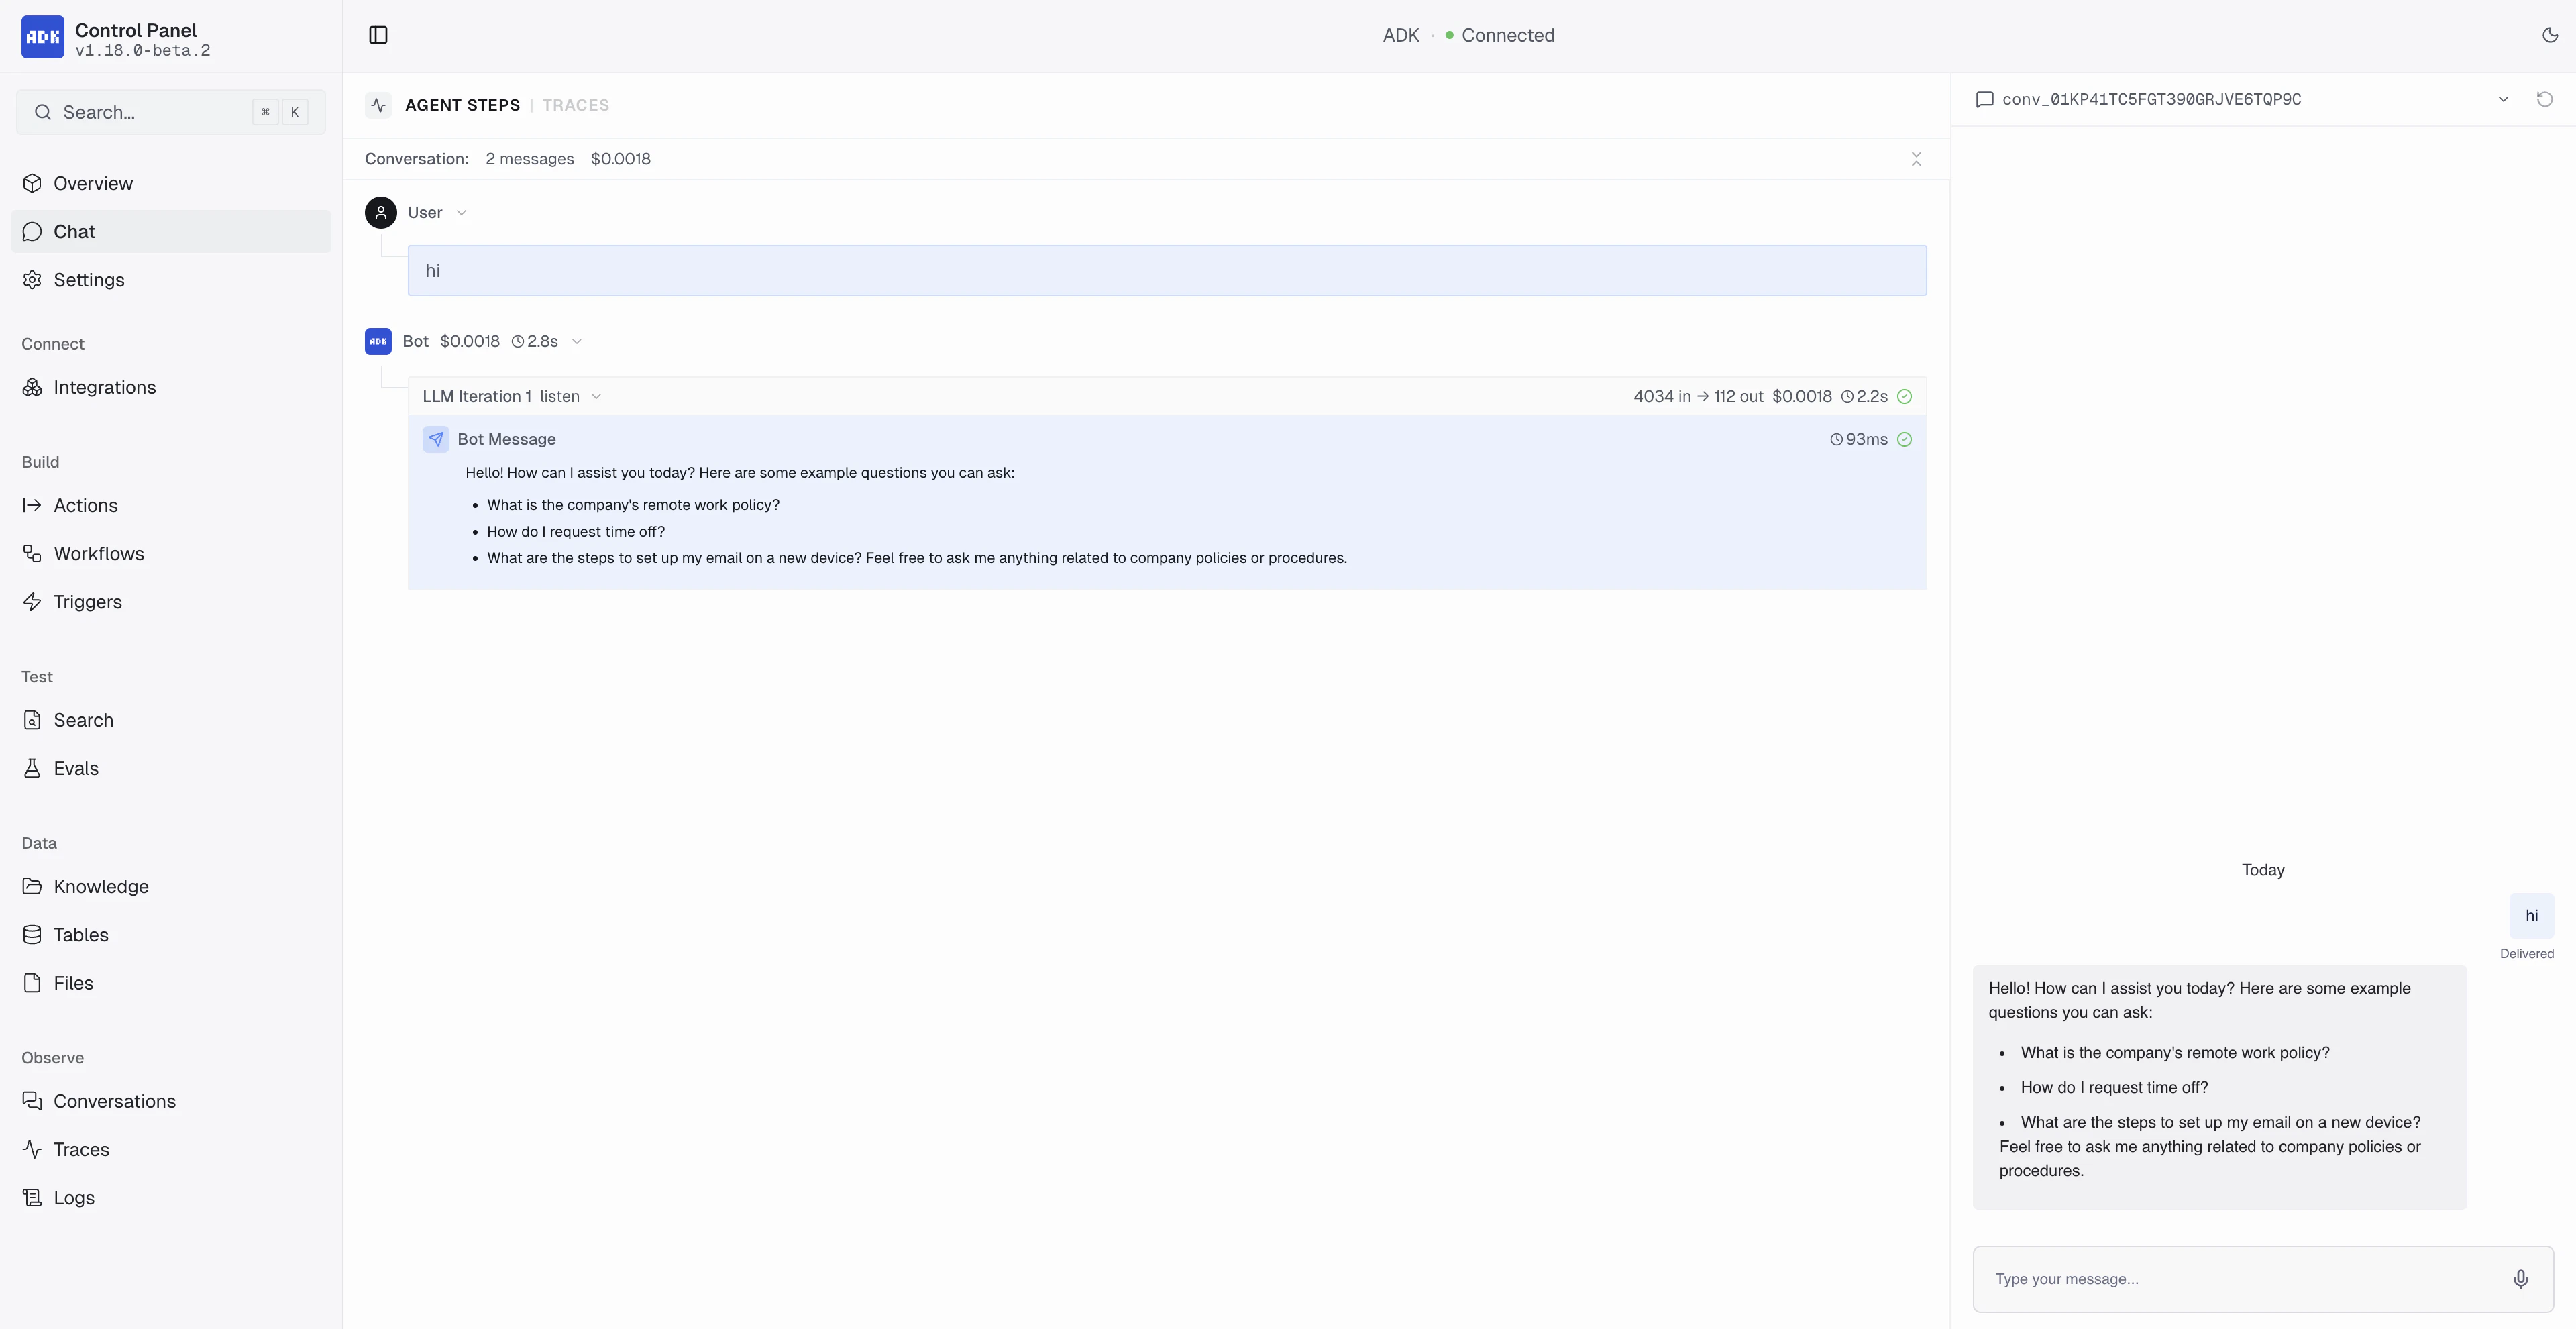
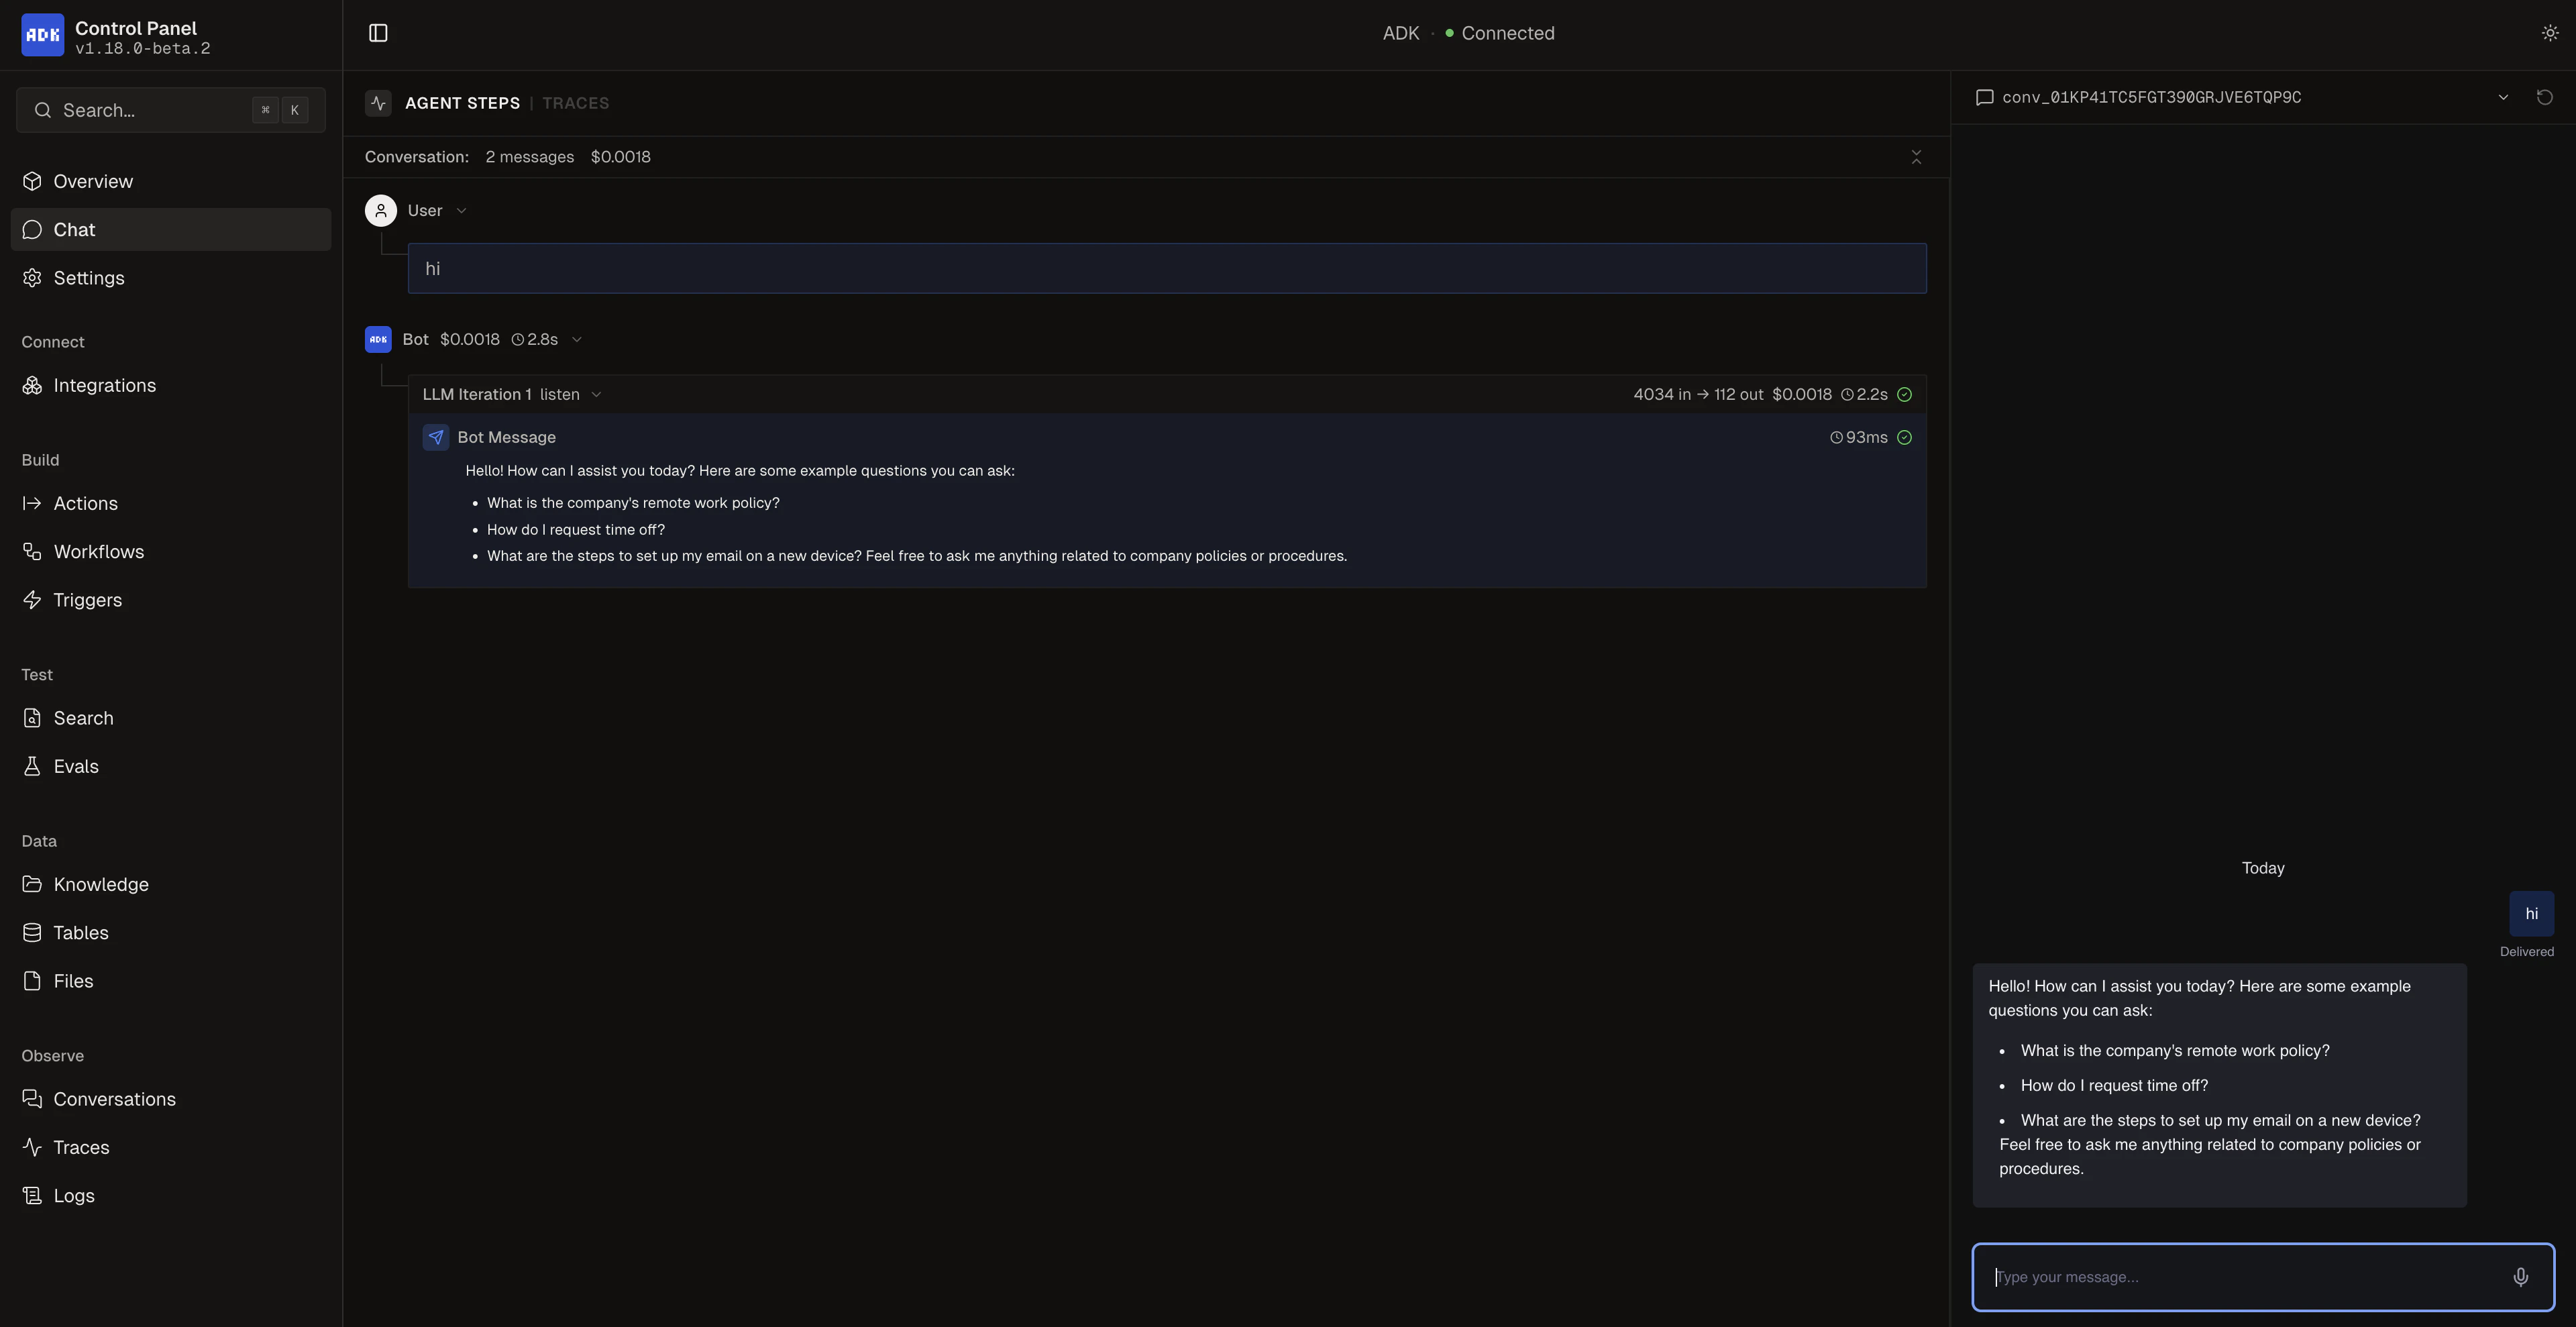
View the Control Panel
Whileadk dev is running, visit http://localhost:3001/ to access the Control Panel. This gives you a visual overview of your agent project where you can browse conversations, actions, workflows, tables, triggers, knowledge bases, and configure integration settings.
You can also test your agent directly from the built-in Chat view:
Chat in the terminal
Alternatively, open a new terminal window and start a conversation with your agent from the command line:Build your agent
Compile your agent for production:.adk/bot/.botpress/dist directory.
Deploy your agent
When you’re ready, you can deploy your agent to Botpress Cloud:If you skipped workspace selection during
adk init, run adk login then adk link to connect your agent before deploying.You deployed your first agent using the ADK!
Next steps
Project Structure
Learn about ADK project organization
Conversations
Create your first conversation handler